Blender Anim setup
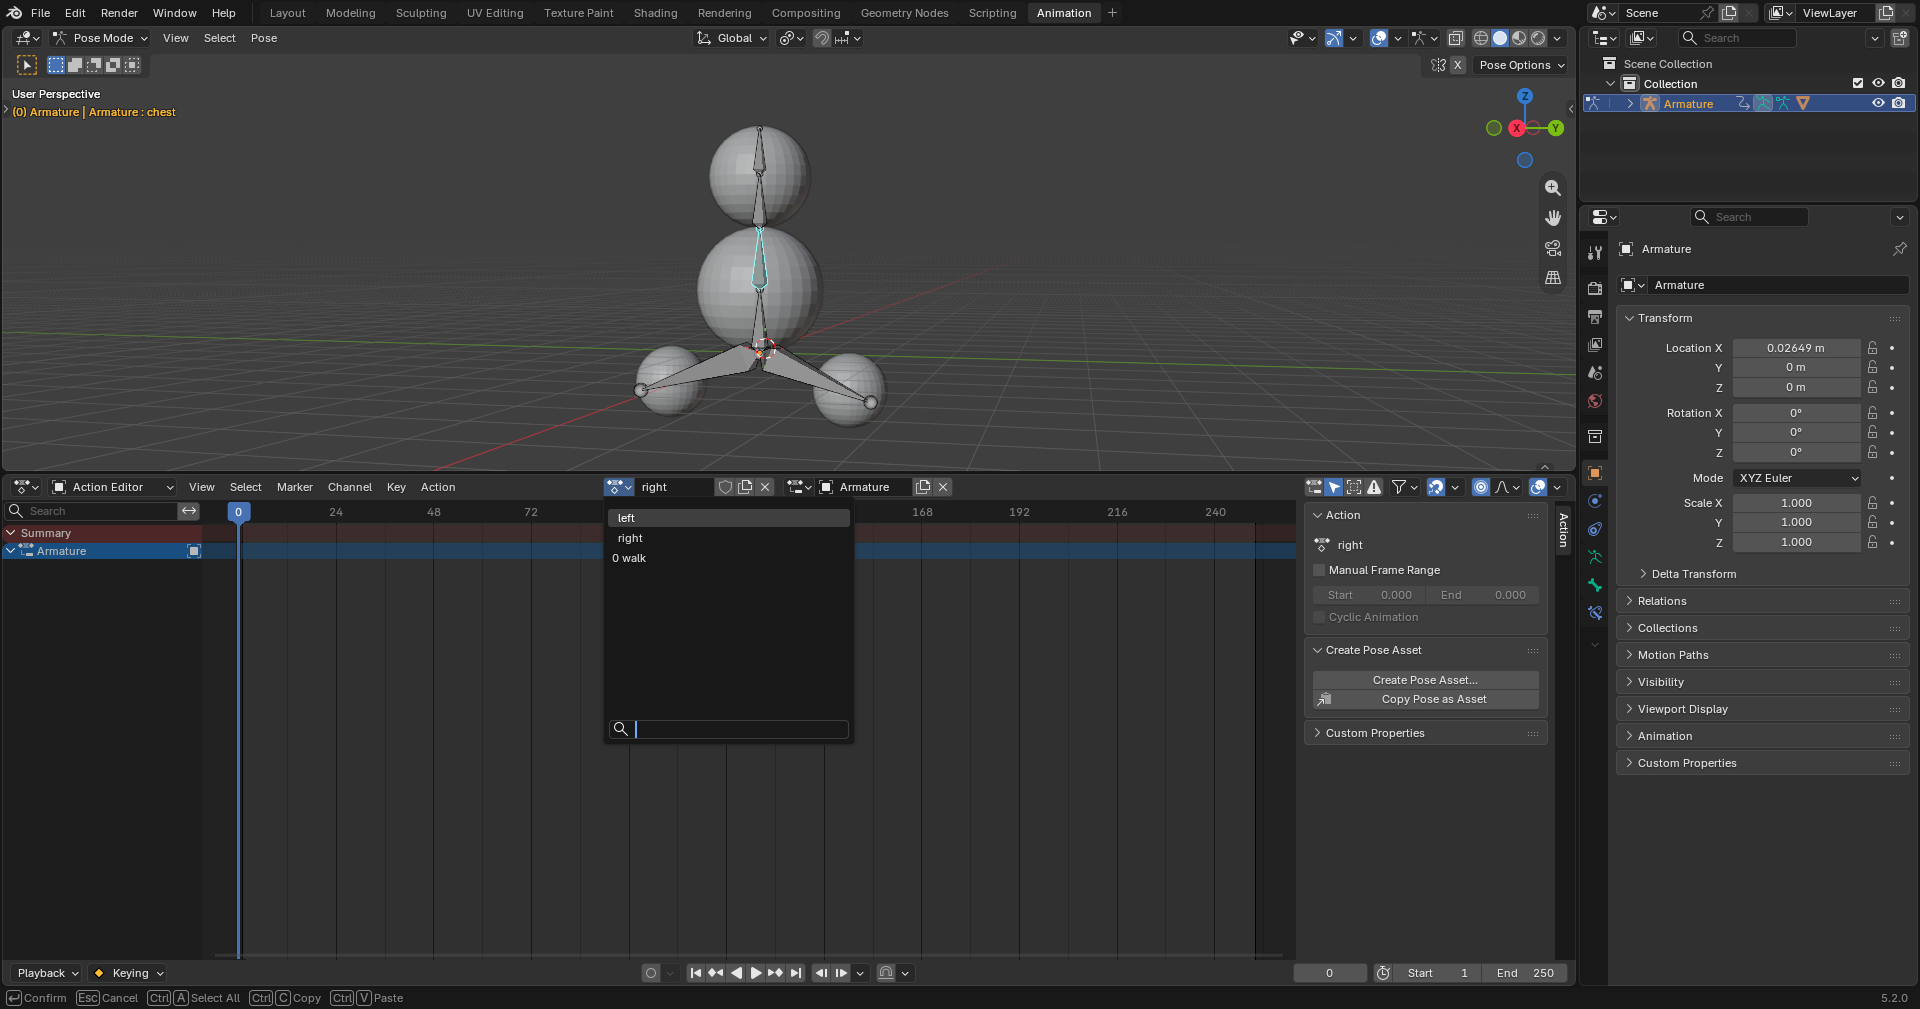
in blender we have 3 animation on our model. Tilt head left, right and a walking animation. Exported as an fbx and setup as a vmdl in s&box.
Skeleton
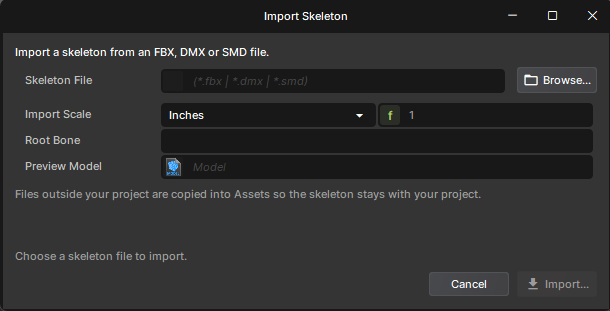
Start by creating a skeleton. Point it at your exported model and set the import scale and units to what works for your model.
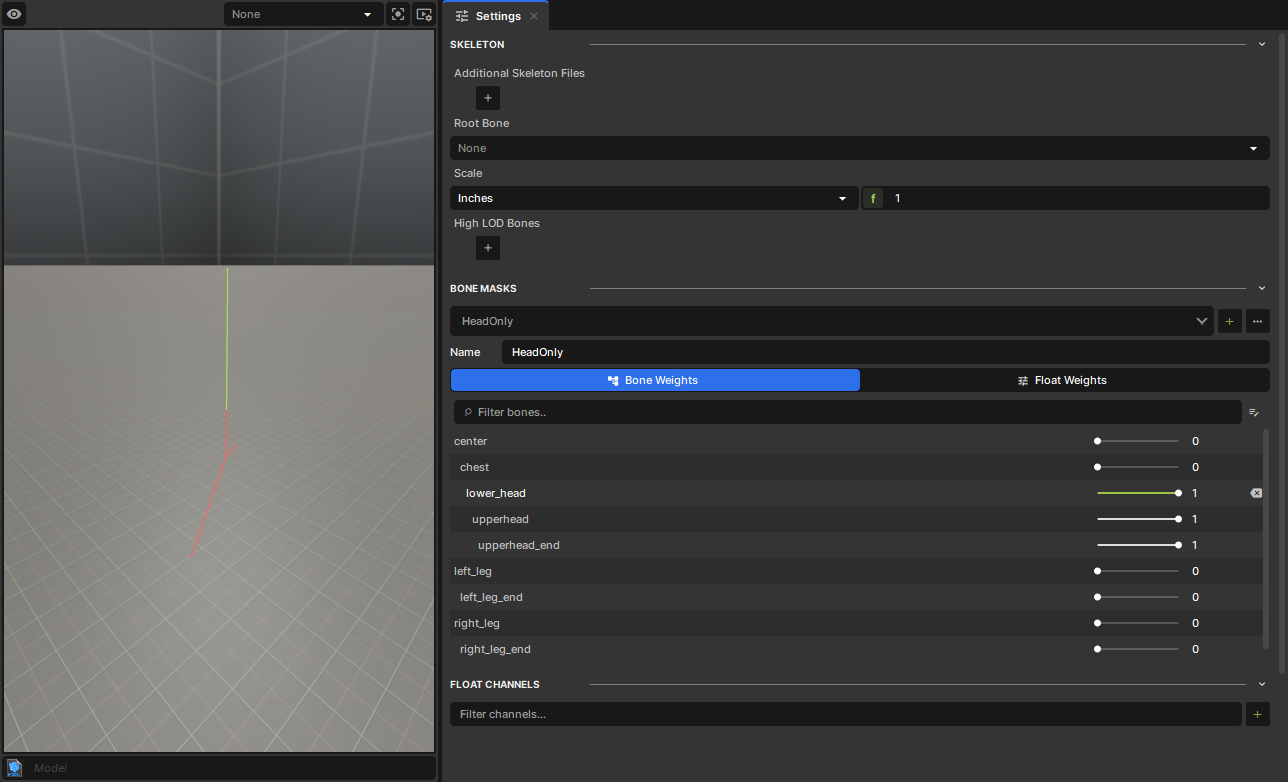
For this demo we need a bone mask. Open your skeleton file and create a bone mask called “HeadOnly” and set all the head bones weight to 1.
This mask will allow to overlay our head tilt animations on top of our walk animation.
Clips
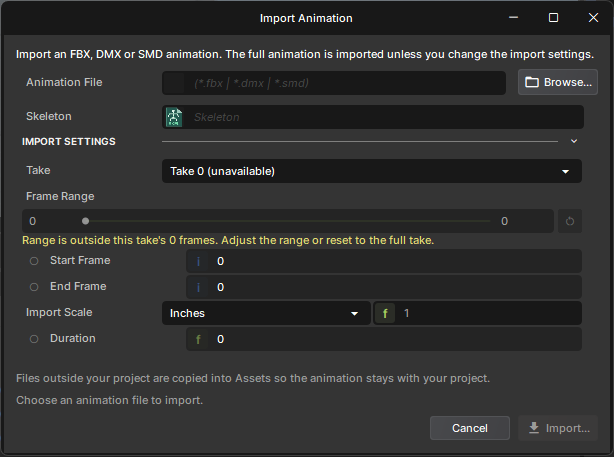 right click your asset browser and create an animation clip. Point it to the file that contains your animation , in our case its the same as the model and set the skeleton to the one we just created.
Set your import scale and frames if needed. do this for all your animations
Graph
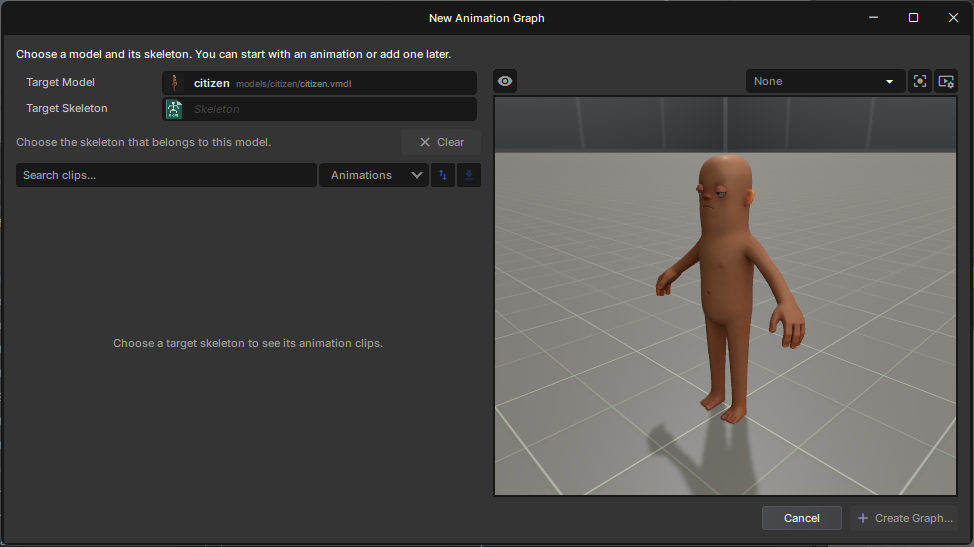
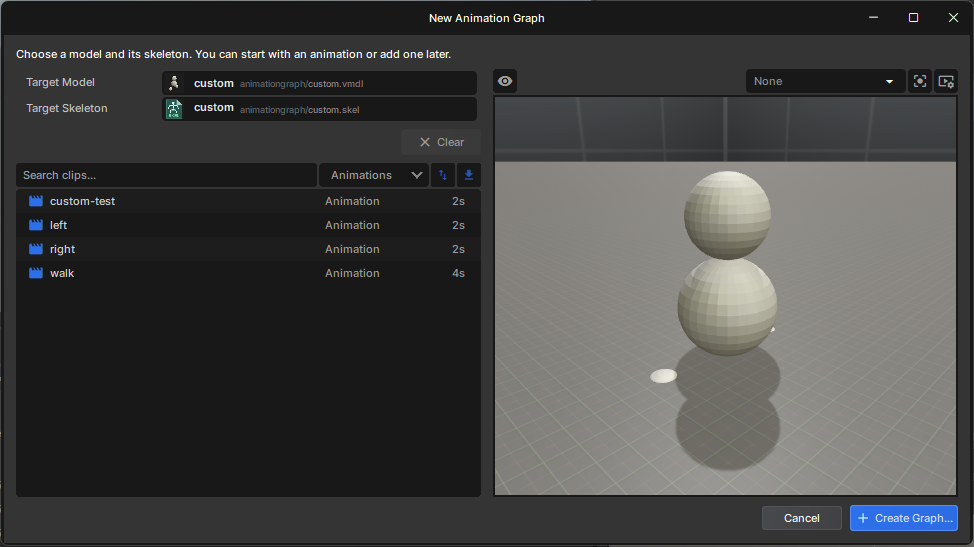
now create a new animation graph and point it at your models vmdl and skeleton.
if done correctly you should see a list of your animations that are targeting that skeleton
Parameters
Parameters in the animation graph are values we can control from c#. We use parameters to tell the graph what animations to play.
Make a C# component and attach it to a gameobject that also has a skinned model renderer of our model.
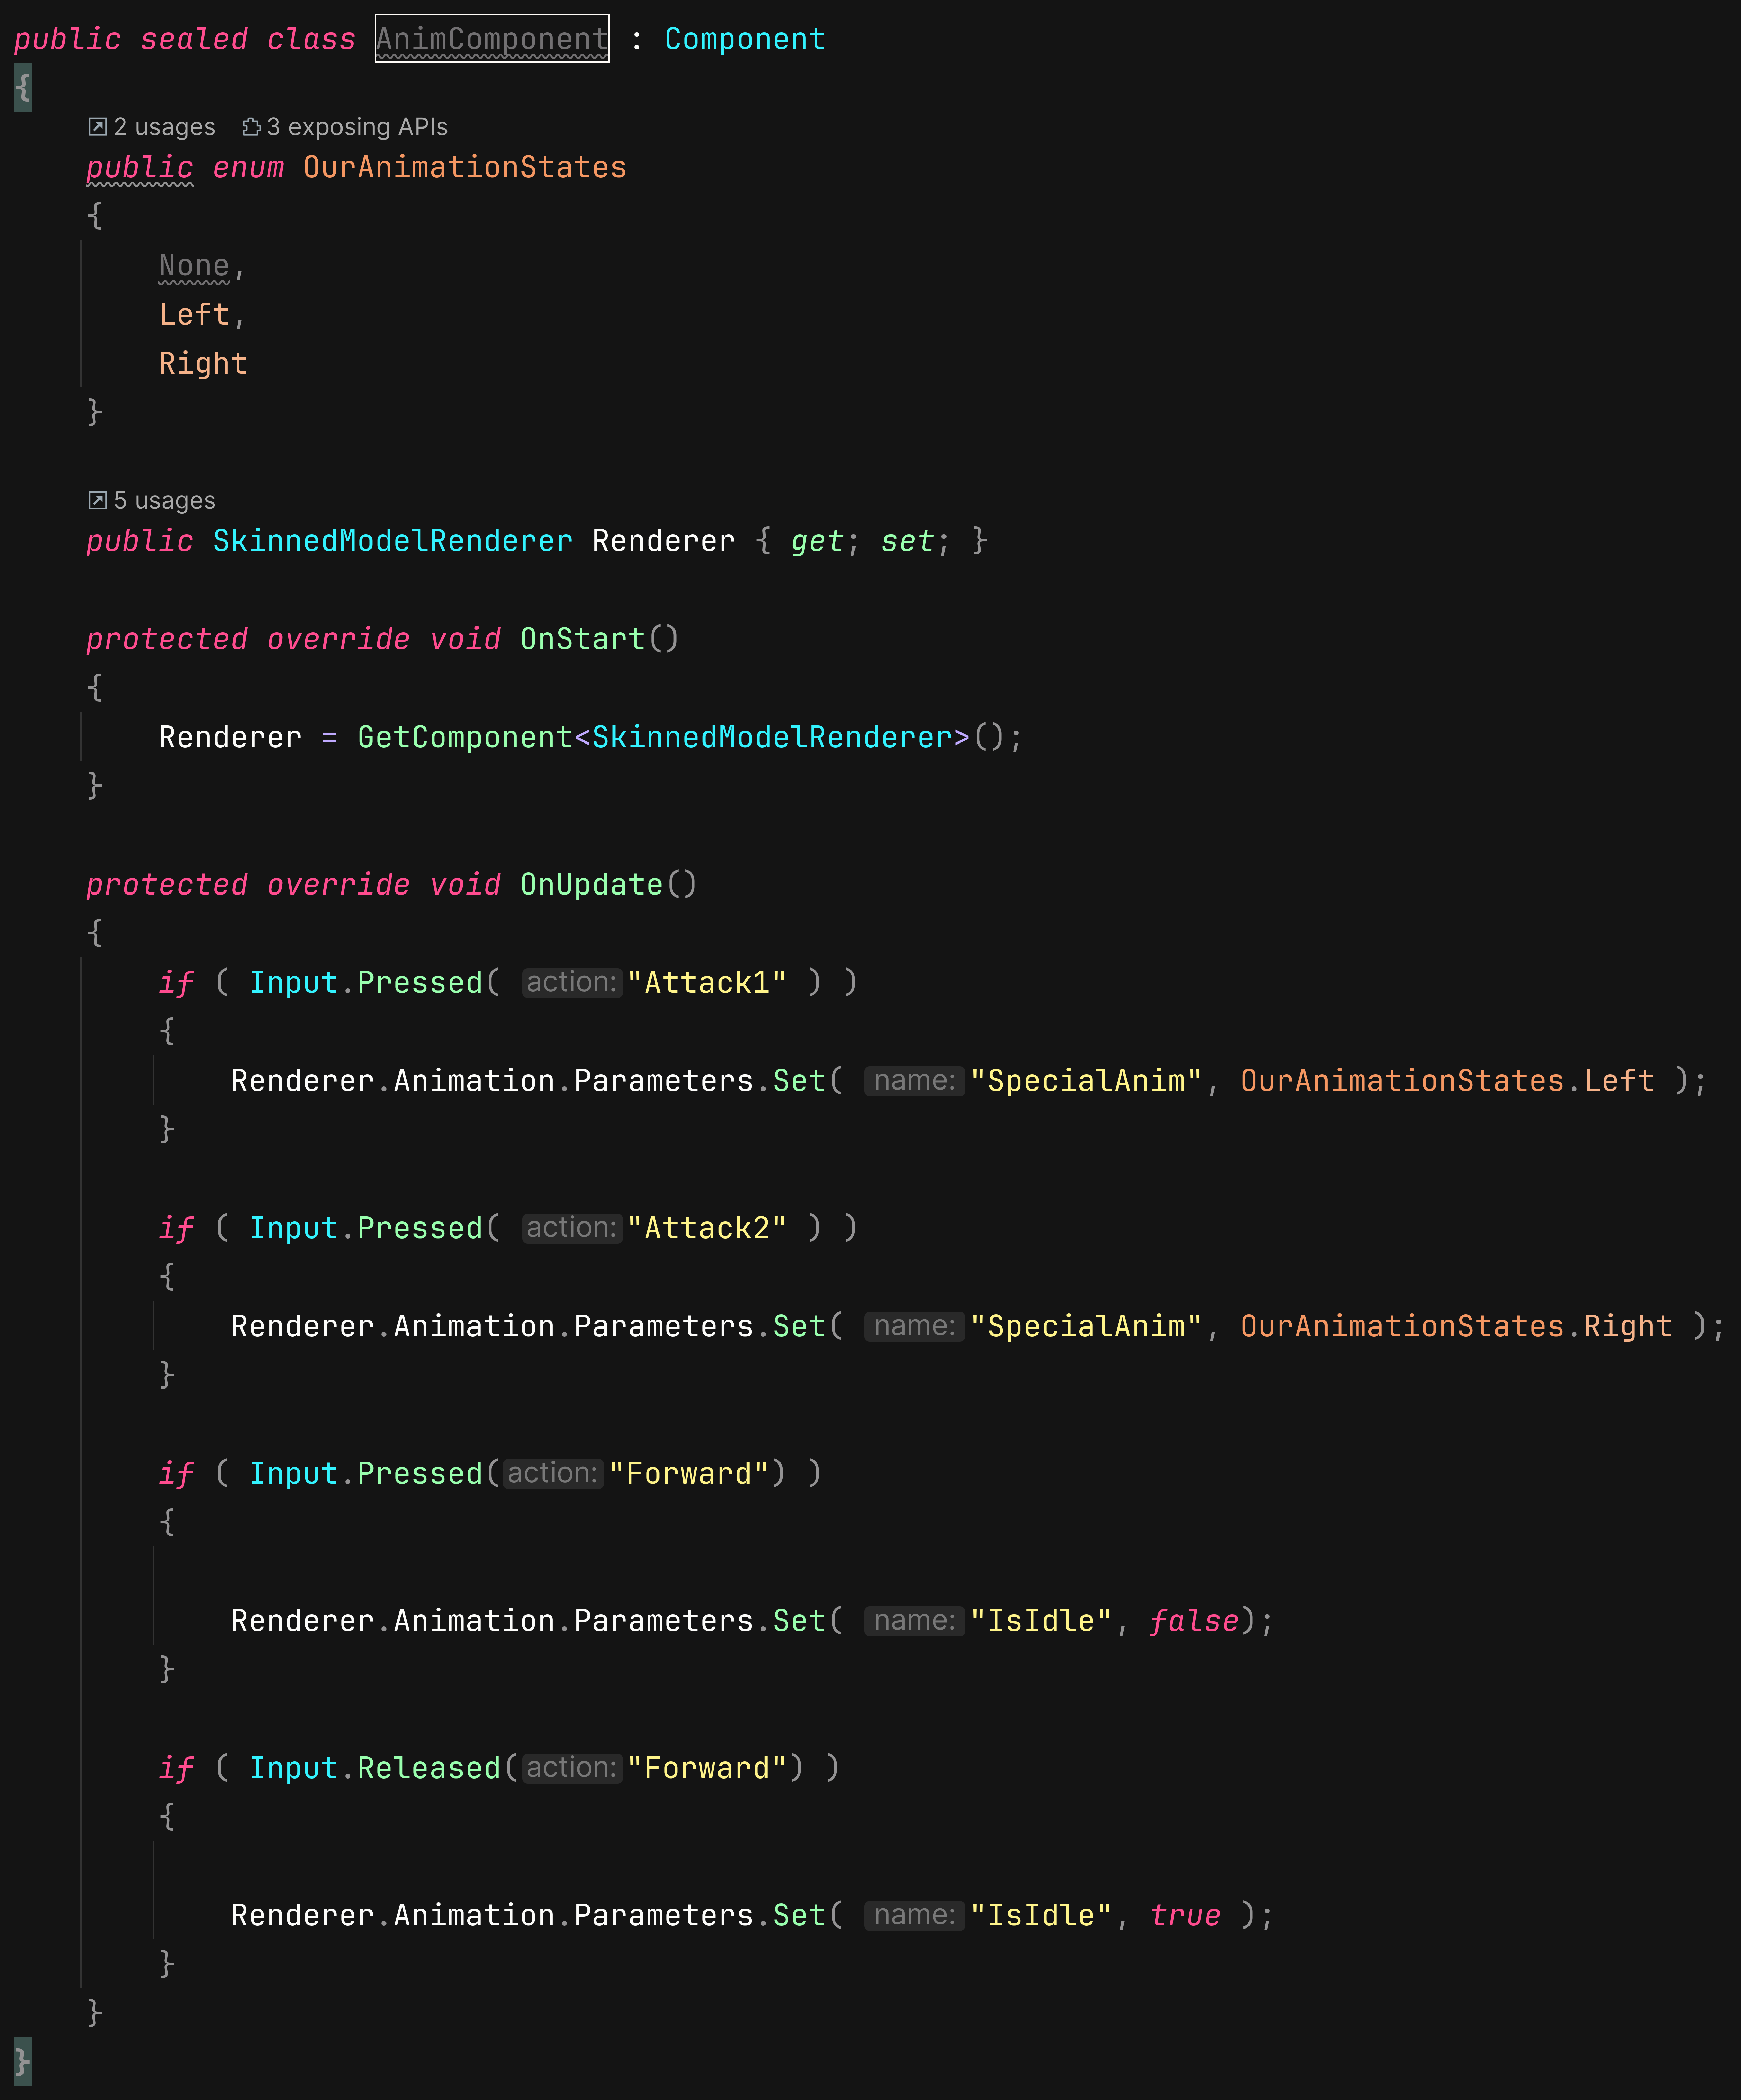
for now we are only going to create an enum that contains “None”,“Left”,“Right”.
These enum names will be used later when we are setting up state transitions
with that enum created, click the blue + in the paramters window and create an ID called “SpecialAnim”
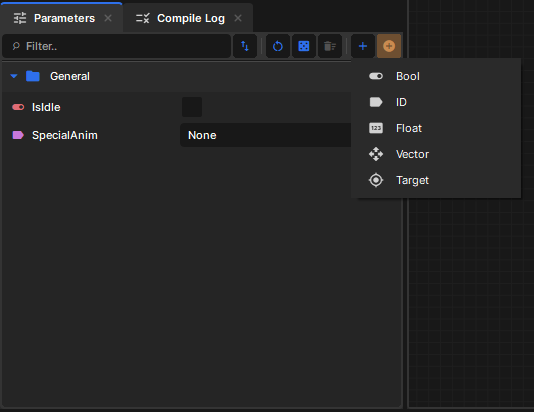
make sure to set the Enum property to the enum you created before in C#
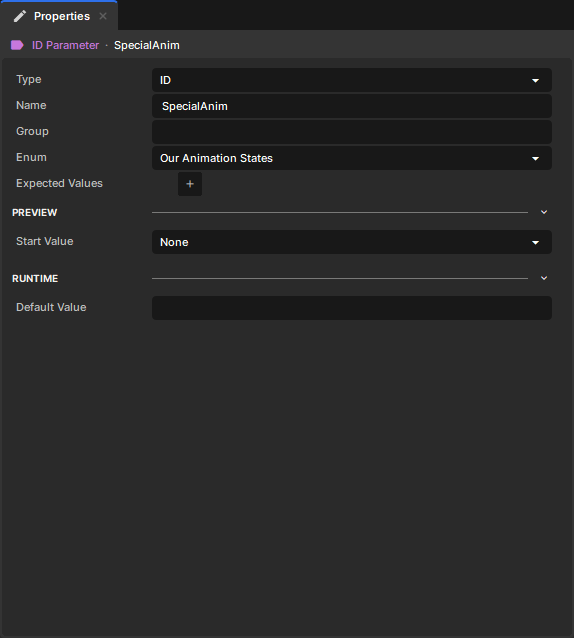
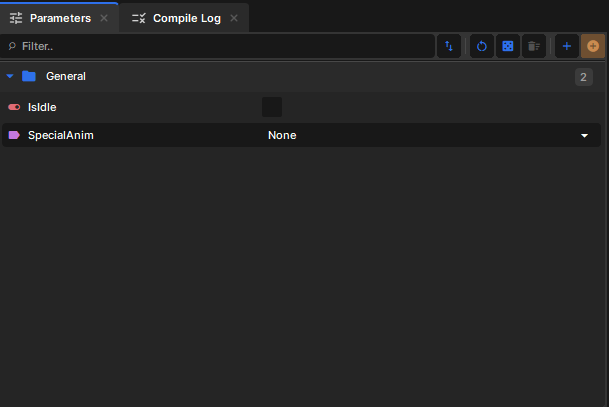
Create another “bool” parameter named “IsIdle”. we will use this later to toggle the walking / idle animation.
Node Setup
Create a state machine for our head tilt animations.
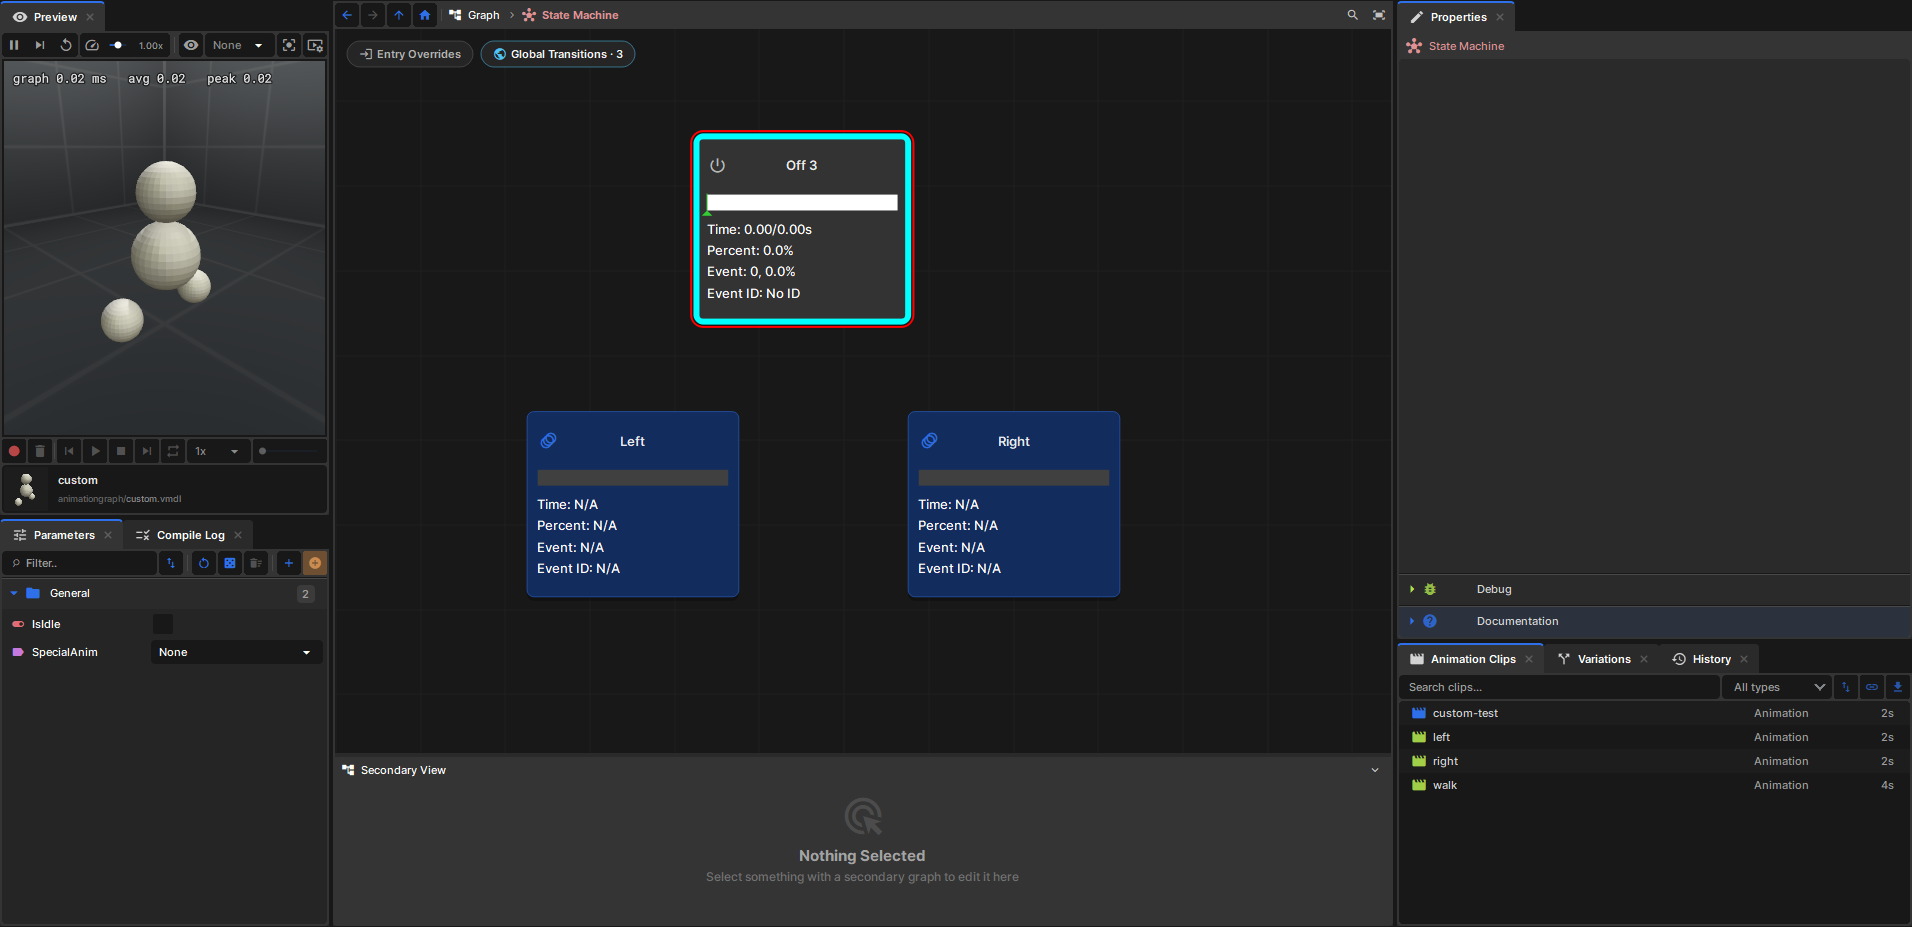 Right click and create 3 states, “Left” and “Right” and an off state.
Double click inside one and drag in the your animation clip from the clips window and connect to the result node. This tells the state machine what animation clip to play for what state. Do this for both your left and right animations.
Transitions
To keep things simple we are going to be using global transitions rules for our states.
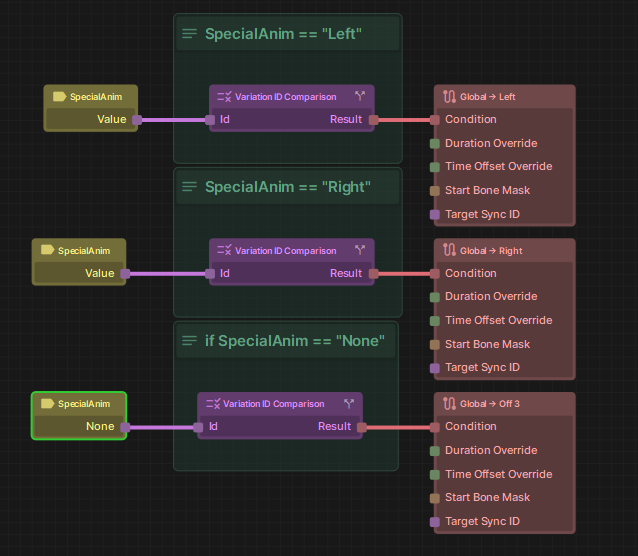
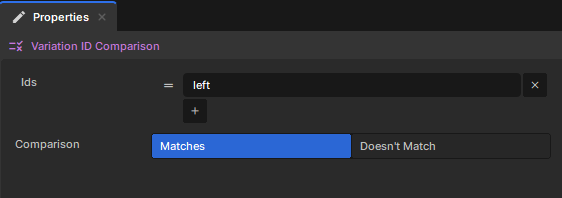
here we check our “SpecialAnim” parameter and see if its value is equal to the state we want active.
This allows us to transition to any of these states based on the “SpecialAnim” parameter without defining a transition for each state
Setting Animations and bone masks
to set what animation clip plays for each state. double click the state in the state machine view and connect your animation clip to the “Result” node
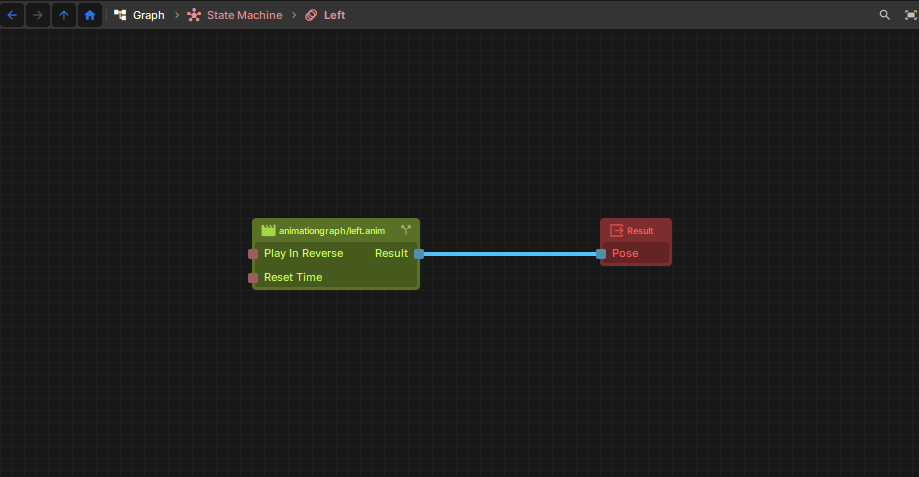
from this view if you hit the up arrow it will take you back to the state machine view. now single click on your left state in the bottom view we will see “State Layer Data”. Here is where we set out bone mask.
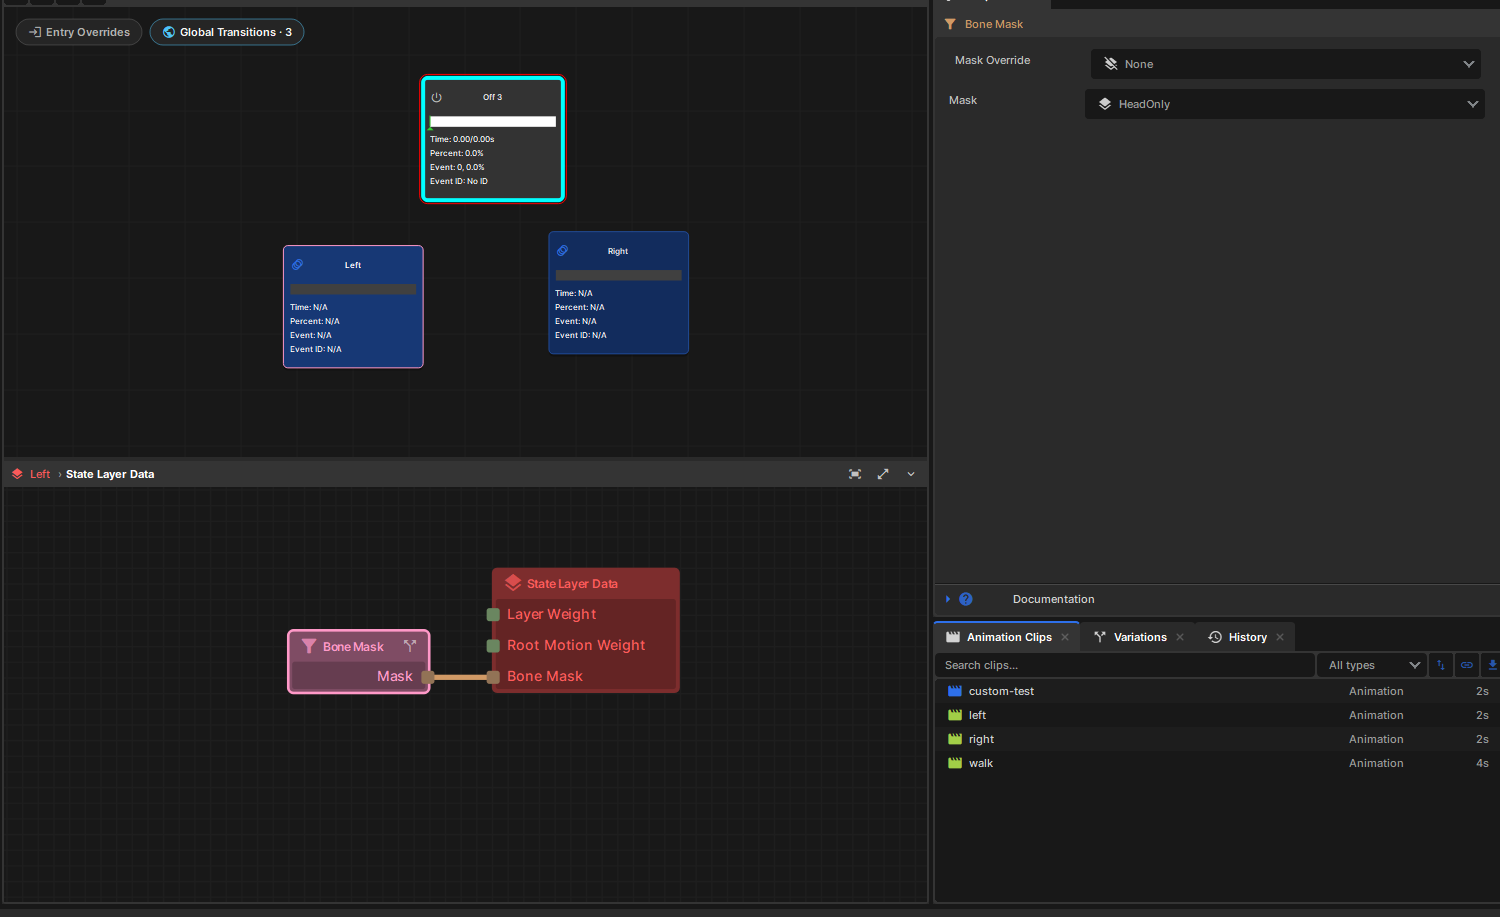
create a bone mask and set it to the head only mask we created before.
Make sure to set your right state’s animation clip and bone mask also.
you can think of a bone mask as a layer mask from an image editor. If you where to stack 2 images on top of another, you would only see the top image. But if you where to create a mask on the top image, you would start to reveal the pixels of the bottom image. This is similar to how bone masks work.
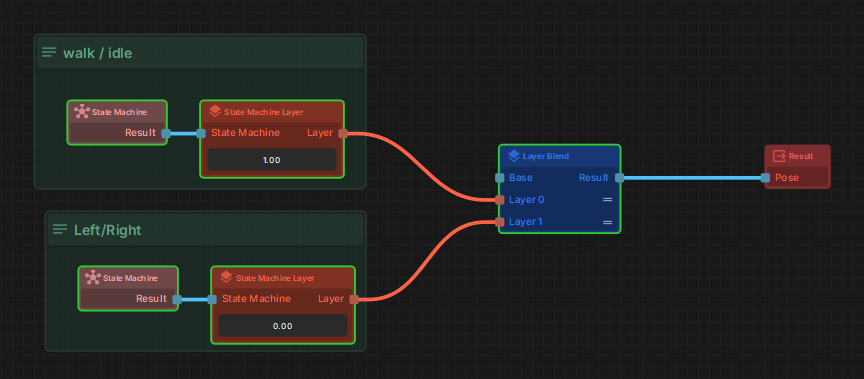
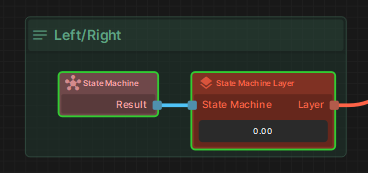
back in the anim graph home page, the root of your anim graph, connect your left/right state machine to a StateMachineLayer
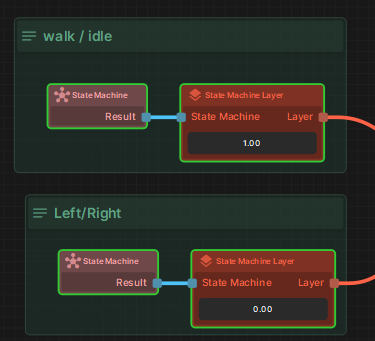
Walking / idle
Now create another state machine next to your left/right state machine, for your walk/idle animations.
open the walk/idle state machine and create 2 states, one for walking and idle.
Just like before set the states animation by double clicking and dragging and connecting your animations
Again we open the Global Transitions tab and set the conditions using our IsIdle bool parameter.
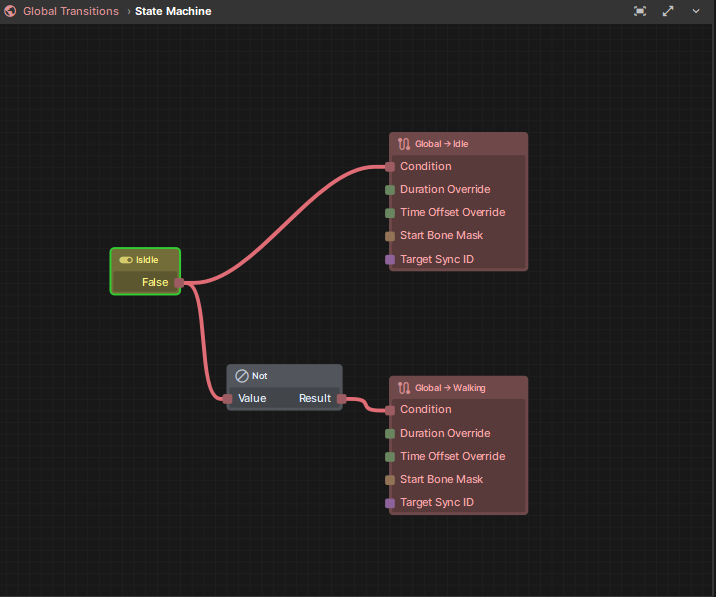
if we are idle set the idle state to true, if we are not idle set the walking state to true.
For this demo we dont need to set a bone mask on the walk animations, since we already masked the special animations before. Fo wr more complex setups you might need to.
Connecting it all
now back to the root of your graph, connect the state machines to state machine layers, then connect each layer in to a layer blend node, creat more layer blend layers by right clicking. then connect the layer blend result to the “result” output node.
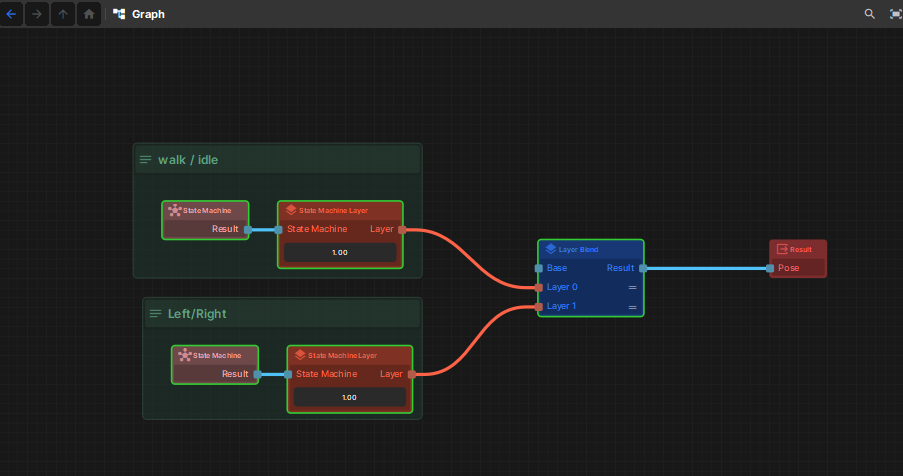
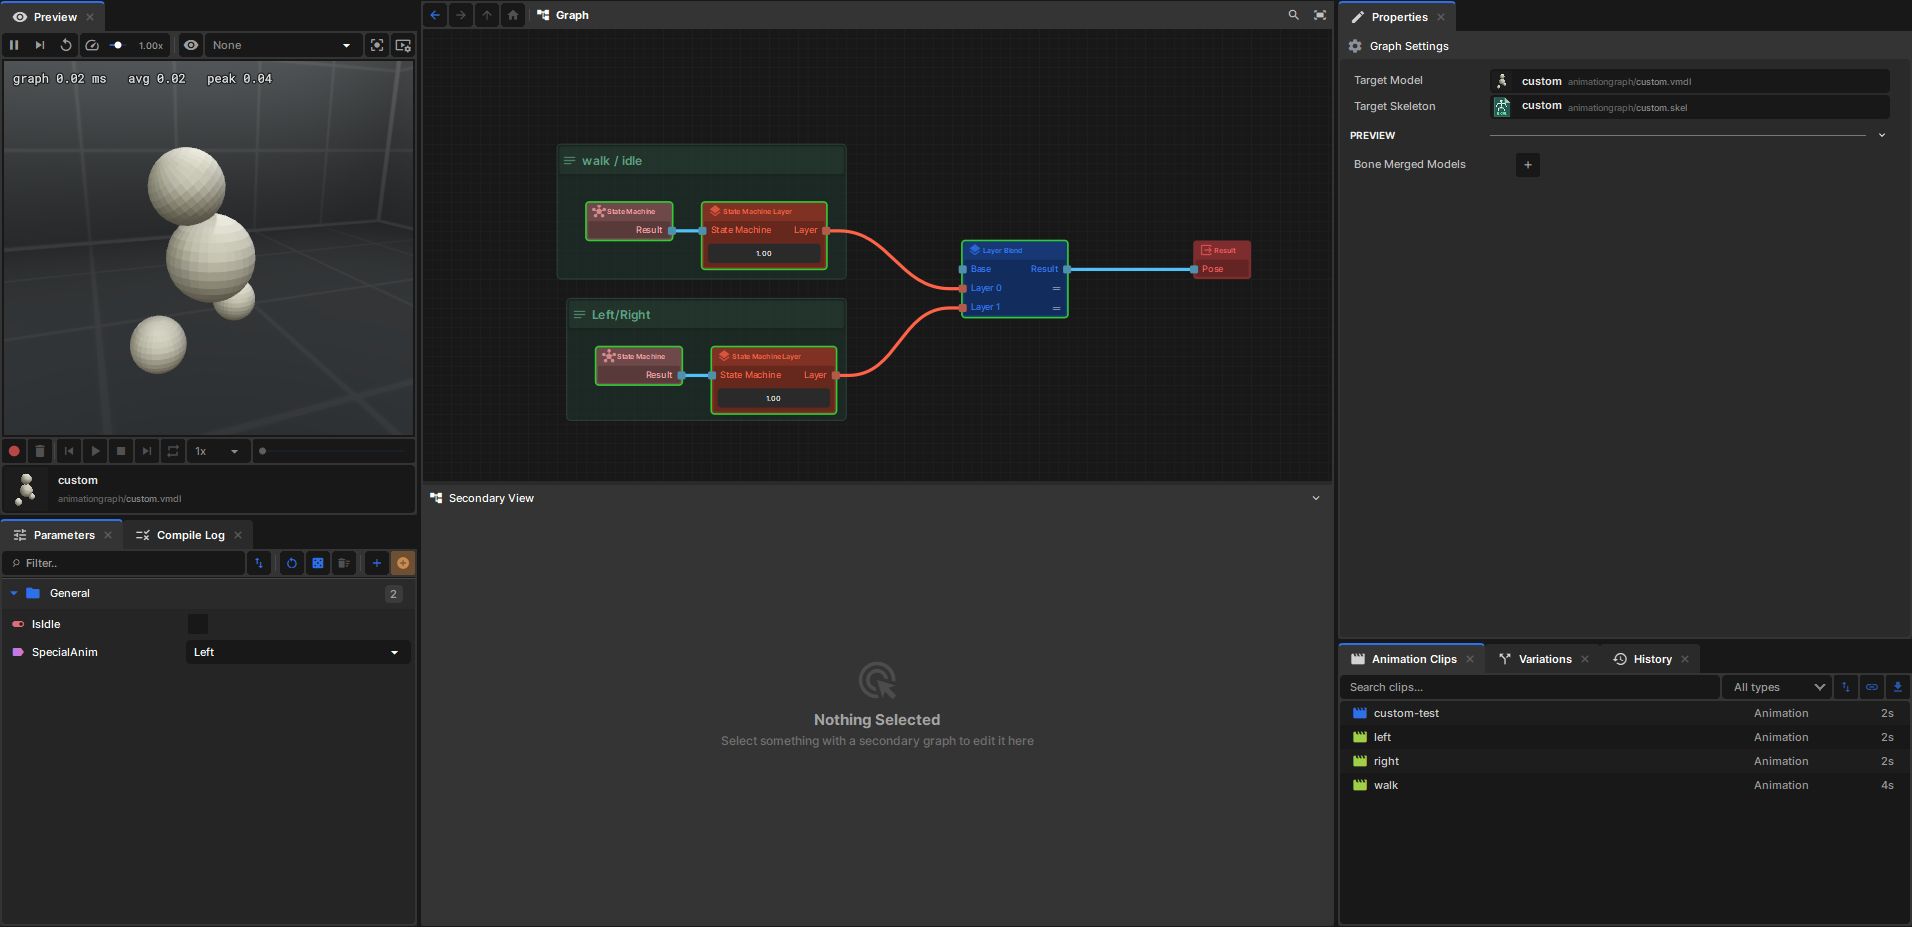
if everything is setup correctly up can now set Parameters and see the correct animation based on the state.
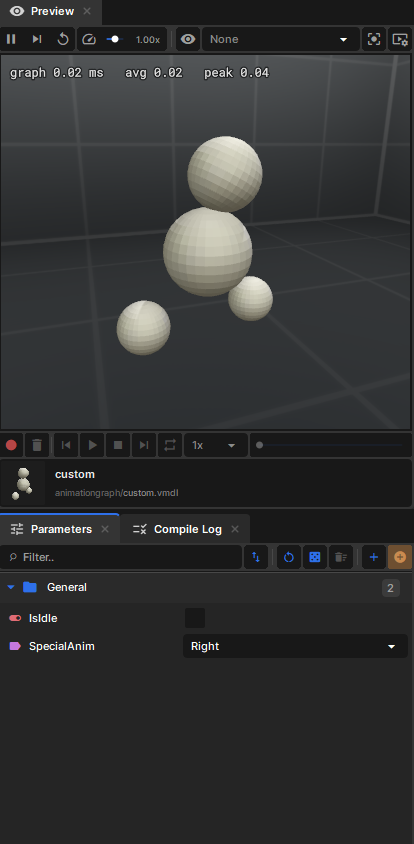
Now you need to set these parameters through your c# component
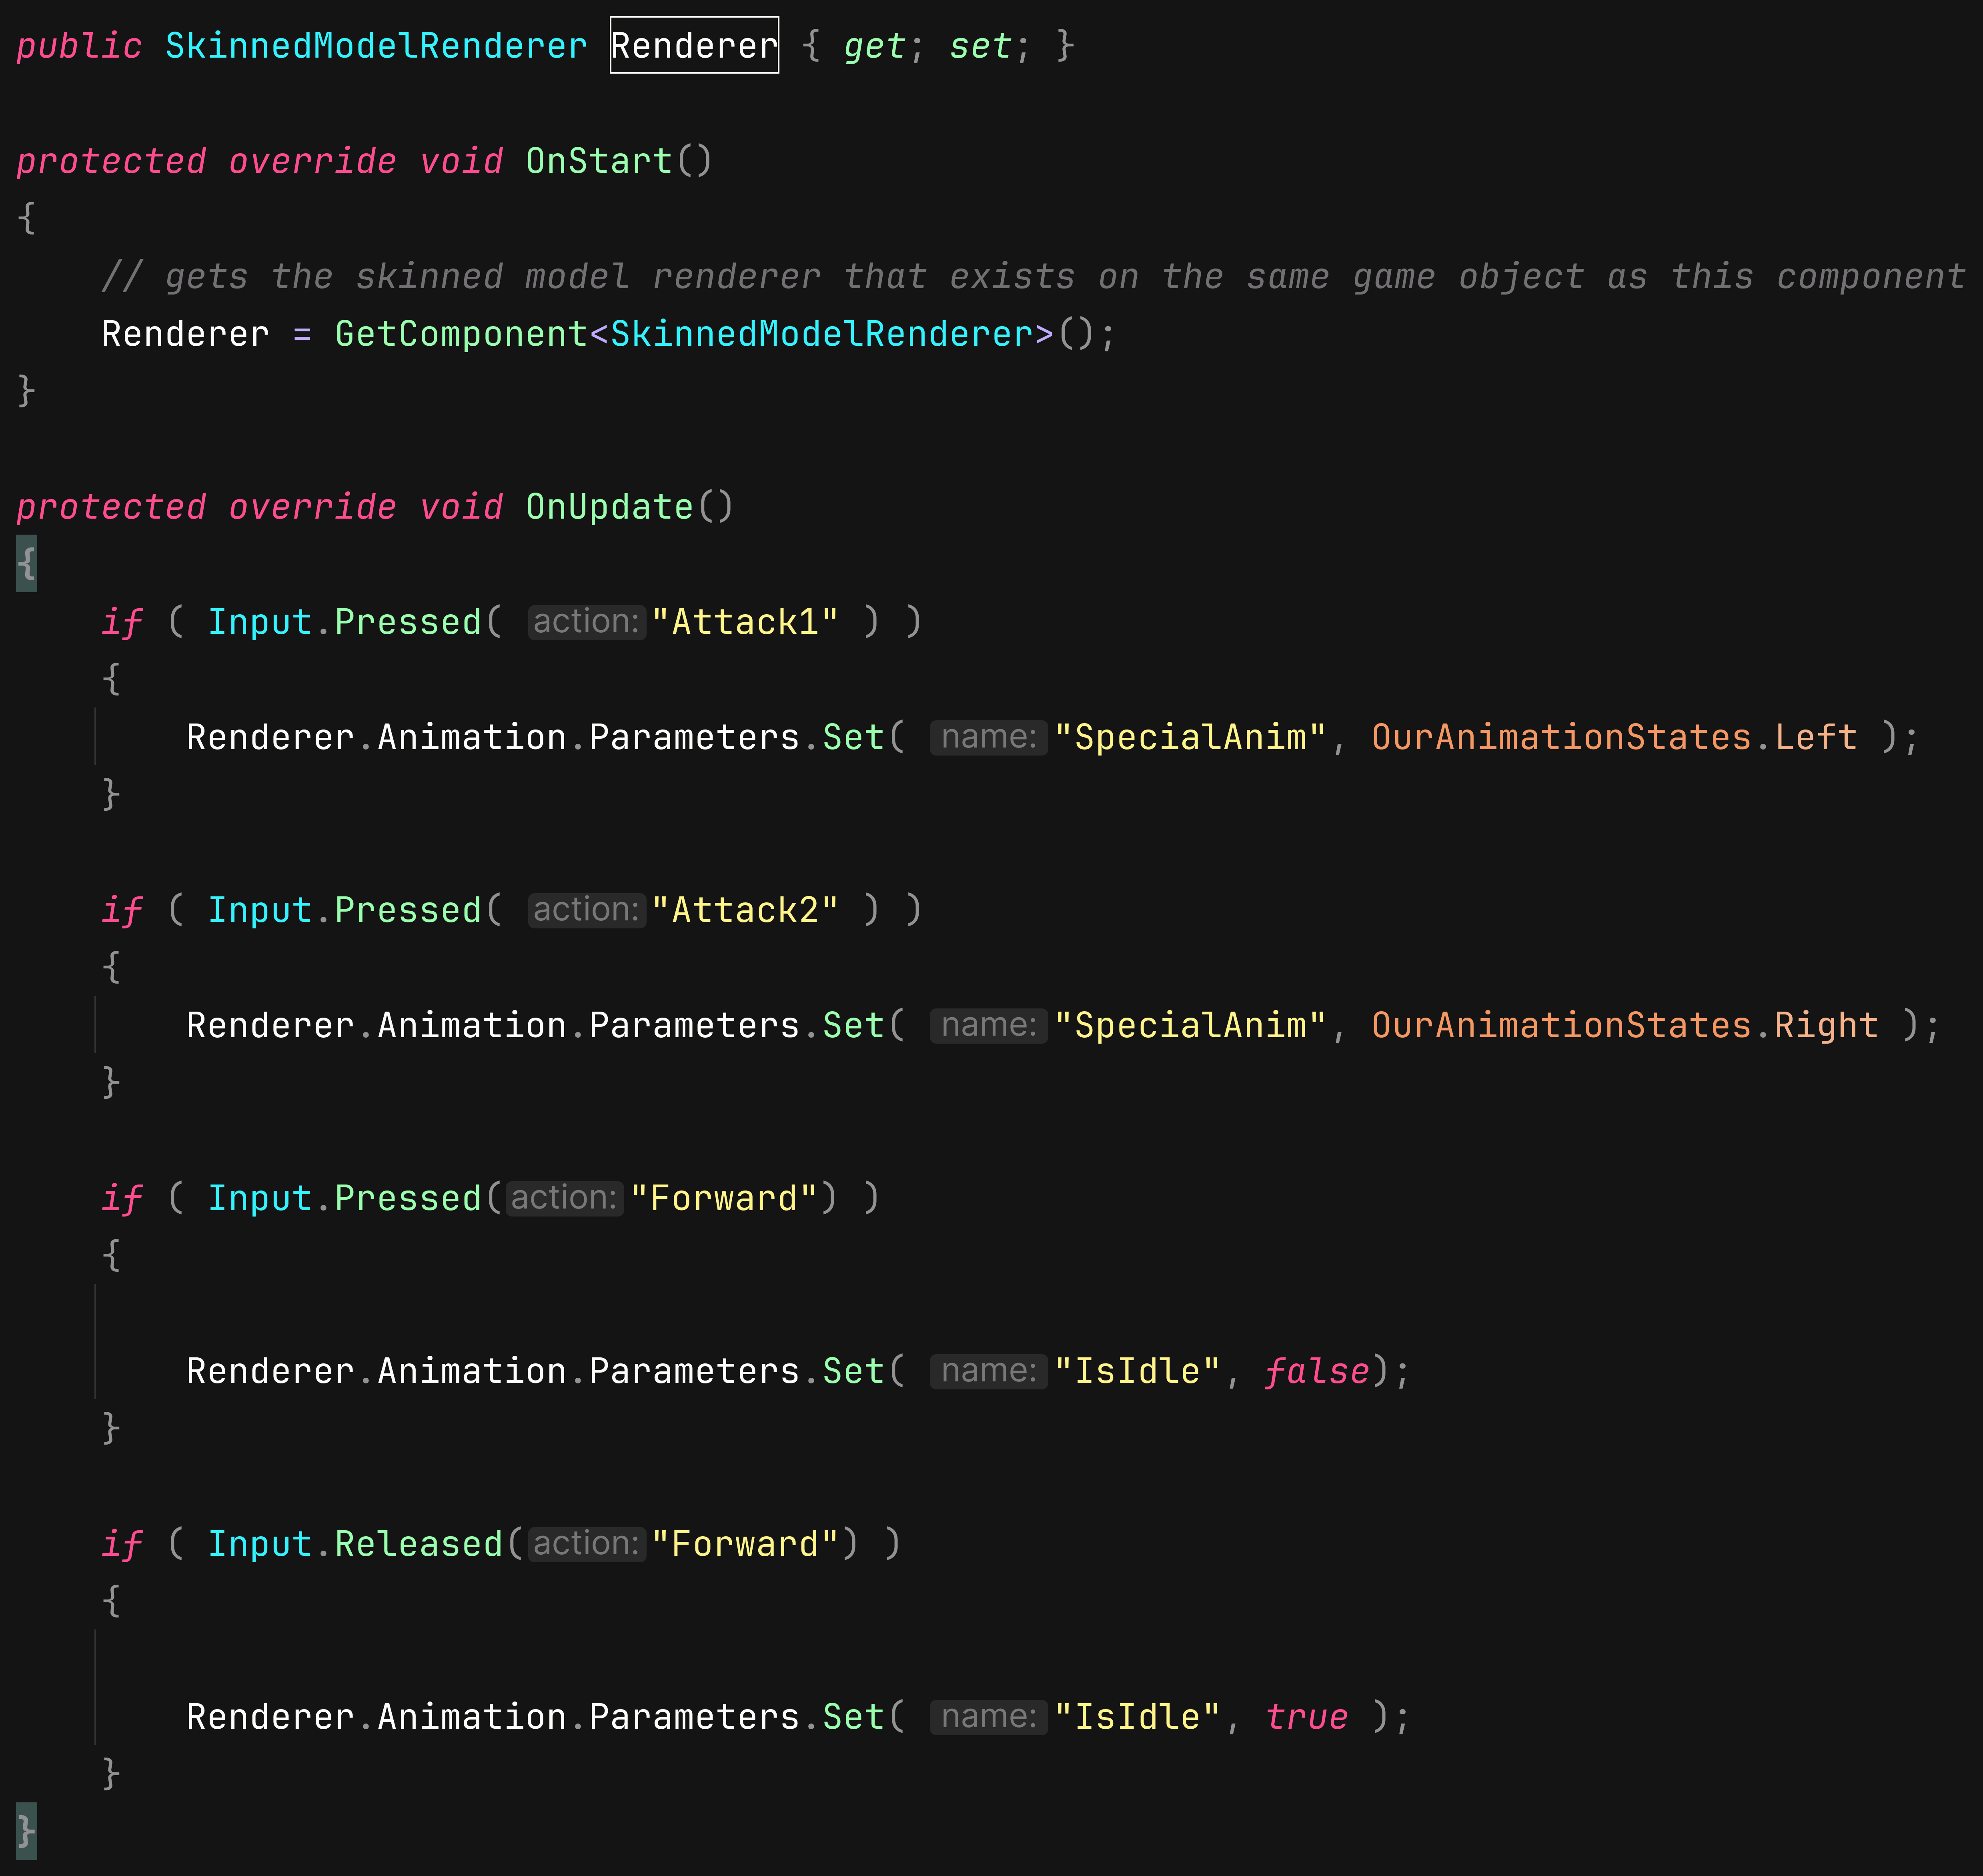
Get a reference to your Skinned Model Renderer.
Then go Renderer.Animation.Parameters.Set("YOURPARAMNAME", VALUE);
if this simple example we are setting state based on when you press attack1/2 and press and release the forward key.